My inspiration today came from a question from a friend who had knitted and felted a yoga mat tote. Her problem was that the bag came out a little bigger than she had hoped. The tips I have for you today can be used with any felted item that needs tweeking. First off, since this was her first knitted and felted item she was terrified at the thought of cutting the felted piece without having it unravel.

A knitted (or crocheted) felted piece acts very similar to the felt fabric that you would buy in the store except that it is thicker.

You CAN cut your felted piece without the fear that it will unravel.


The edge achieved is very clean. You can choose to leave the edge "raw" or you can do some embellishments.
In the case of the yoga mat, my friend wanted to add some bling. My suggestion was to do a crocheted embellishment on the "raw" edge with beads.

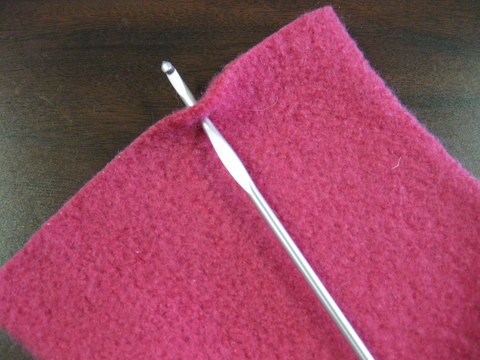
You can poke through the felt with a crochet hook without the fear of tearing the fabric. You could also use a knitting needle or other sharp object to pre-poke the holes to be sure that your holes are uniform in spacing.

Add the beads for a more decorative finish.
Now the next problem!! How do you get those little beads threaded onto the yarn?!
I use dental floss threaders.

You can buy dental floss threaders in any drug store. The threader will replace your needle.
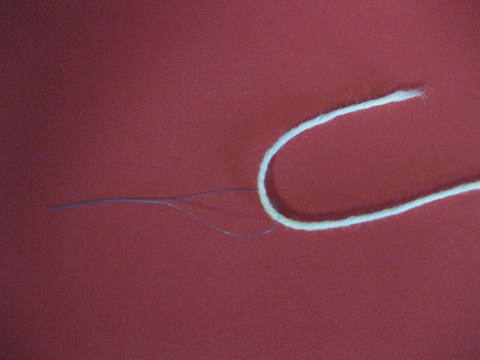

Thread your yarn into the "eye" of the threader as you would with a needle.

Use the tip of the threader to add the beads.

Slide the beads over the "eye" and onto the yarn.
Much easier than using a needle.
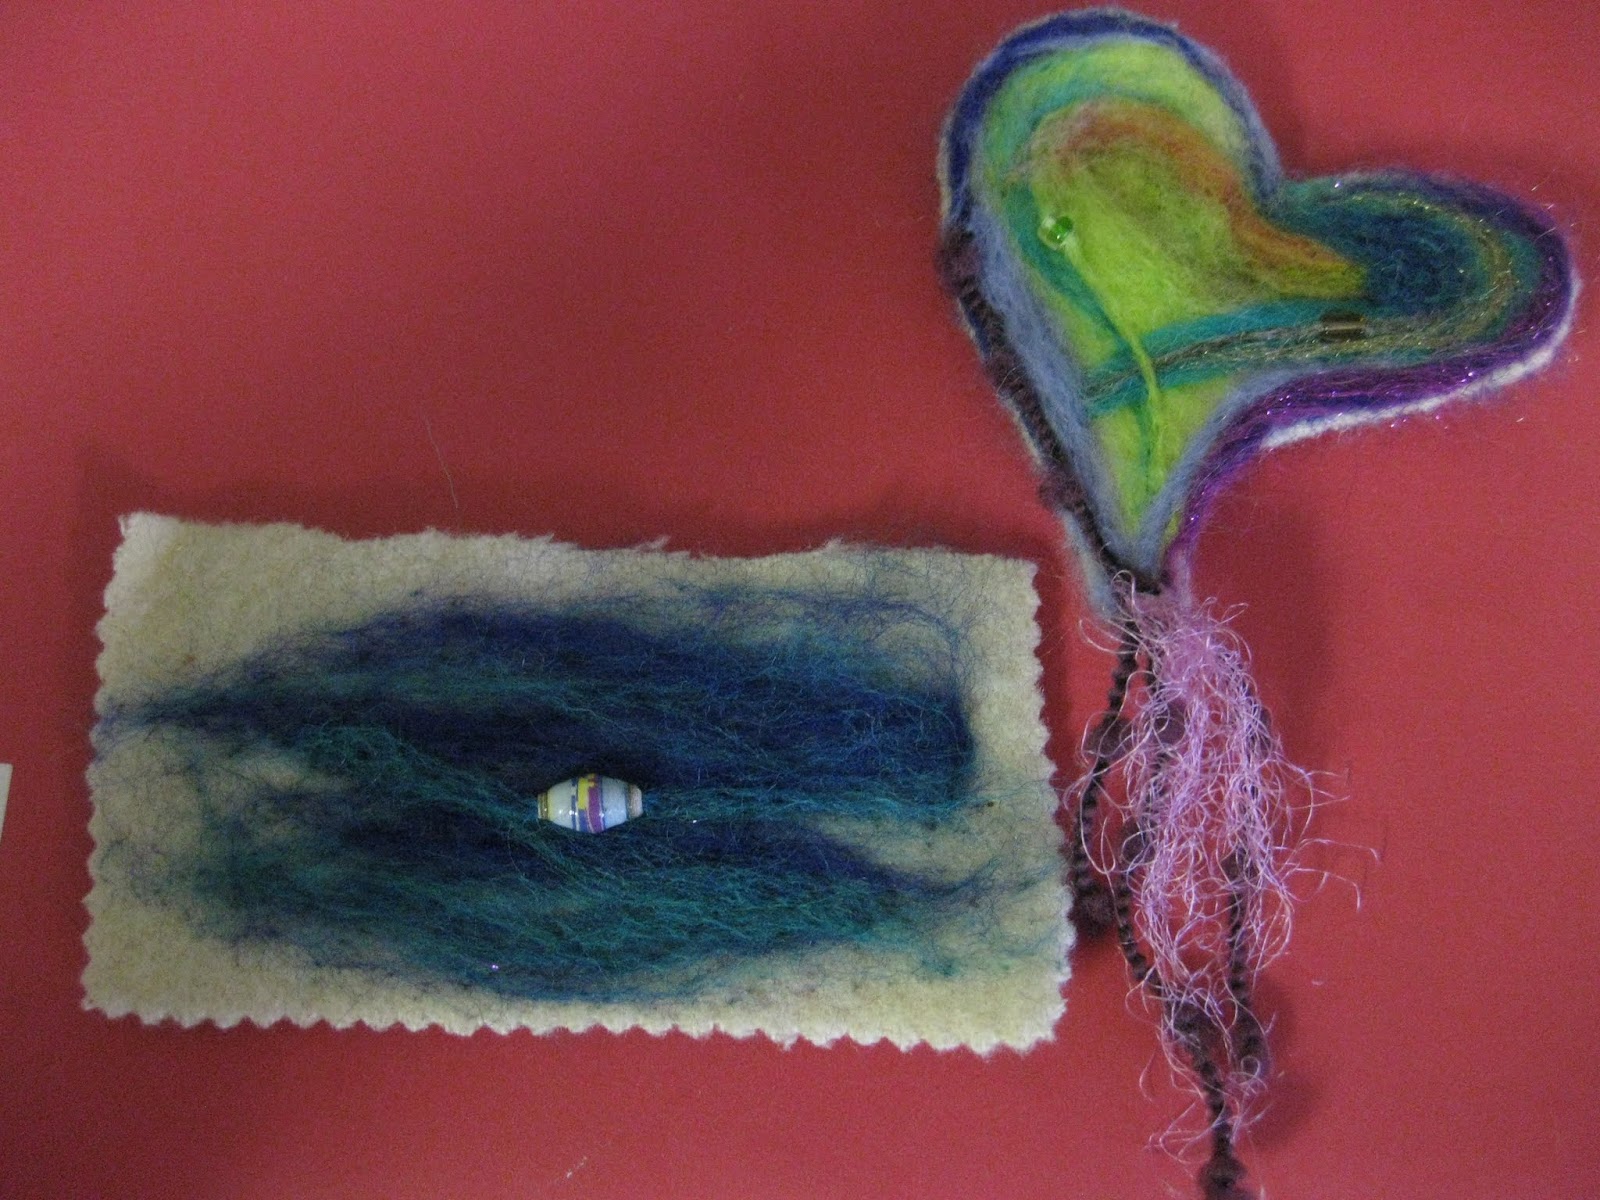
Check out these other adventures using felt and beads using a needle felting technique!
Awesome! :-)
ReplyDelete